Difference between revisions of "Zimbra: Thunderbird Contacts"
Jump to navigation
Jump to search
| Line 10: | Line 10: | ||
# Tools -> Zindus | # Tools -> Zindus | ||
# click on | # click on <tt>Add</tt> | ||
# select | # select <tt>Zimbra</tt> | ||
# Server Url: https://mail.ncf.ca/ | # Server Url: <tt>https://mail.ncf.ca/</tt> | ||
# Enter your email address and password, should be | # Enter your email address and password, should be <tt>ab123@ncf.ca</tt> and your password | ||
# Select | # Select <tt>No</tt> for the Global Address List/GAL | ||
# Click on | # Click on <tt>Test Connection</tt> | ||
http://www.ncf.ca/ncf/support/zimbra/zindus_3.jpg | http://www.ncf.ca/ncf/support/zimbra/zindus_3.jpg | ||
Revision as of 23:31, 28 February 2012
Zimbra calendar and contacts follow the CalDAV and ContactDAV standards.
For Thunderbird, you need to install the "Zindus" contacts addon. Go to Tools -> Addons, and search for "Zindus".
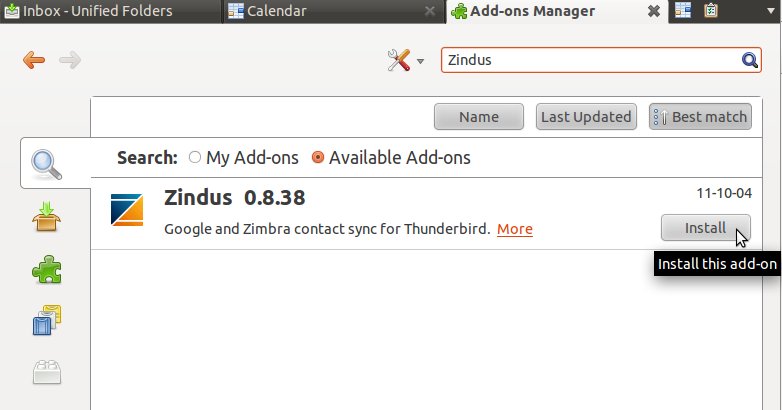
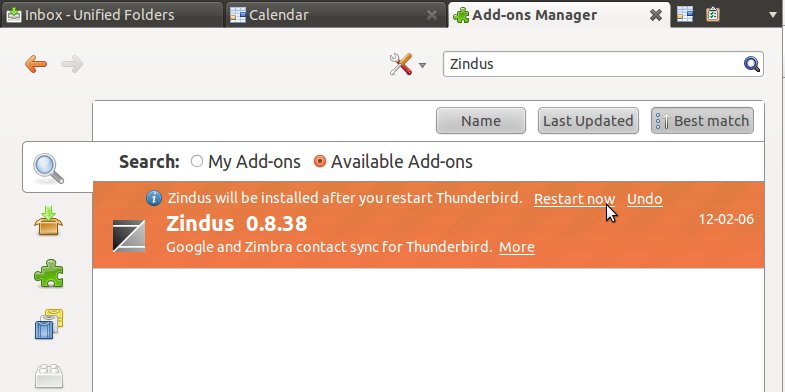
Once you have the Zindus component installed, the steps to sync your Zimbra contacts are as follows:
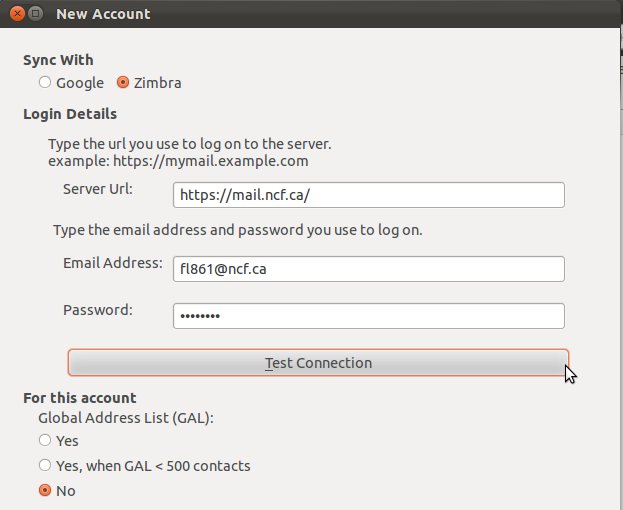
- Tools -> Zindus
- click on Add
- select Zimbra
- Server Url: https://mail.ncf.ca/
- Enter your email address and password, should be ab123@ncf.ca and your password
- Select No for the Global Address List/GAL
- Click on Test Connection
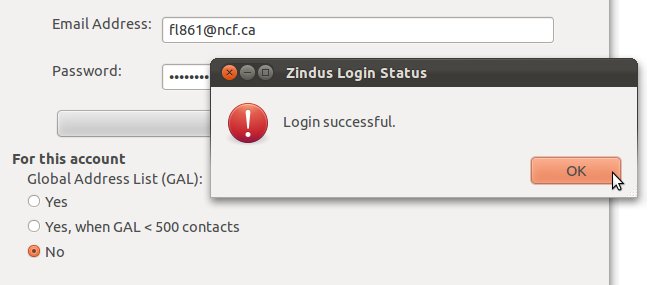
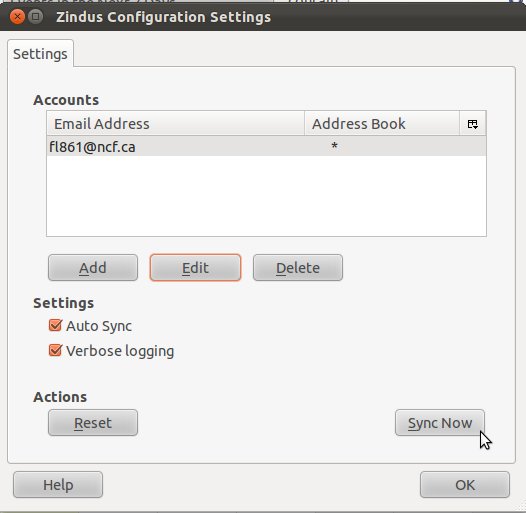
If it worked, you should be set. Click 'Sync now' if you like, and then 'OK'.
