Difference between revisions of "Zimbra: Thunderbird Calendar"
Jump to navigation
Jump to search
| Line 2: | Line 2: | ||
For Thunderbird, you need to install the "Lightning" calendar addon. Go to Tools -> Addons, and search for "Lightning". | For Thunderbird, you need to install the "Lightning" calendar addon. Go to Tools -> Addons, and search for "Lightning". | ||
http://www.ncf.ca/ncf/support/zimbra/zimbra_cal0.jpg | |||
Once you have the Calendar component installed, the steps to add your Zimbra calendar are as follows: | Once you have the Calendar component installed, the steps to add your Zimbra calendar are as follows: | ||
# Click on <tt>File</tt> -> <tt>New</tt> -> <tt>Calendar</tt> | |||
# Select <tt>On the Network</tt> | |||
http://www.ncf.ca/ncf/support/zimbra/zimbra_cal1.jpg | |||
# Select <tt>CalDAV</tt> | |||
# Enter the following into the Location: <tt>https://mail.ncf.ca/dav/ACCOUNT_ID@ncf.ca/CALENDAR_NAME</tt> | |||
Enter your NCF accountID where it says ACCOUNT_ID, and the Zimbra calendar you wish to add where it says CALENDAR_NAME. | Enter your NCF accountID where it says ACCOUNT_ID, and the Zimbra calendar you wish to add where it says CALENDAR_NAME. | ||
eg., in my case, to add the default Zimbra calendar, which is named simply "Calendar", I would enter: | eg., in my case, to add the default Zimbra calendar, which is named simply "Calendar", I would enter: | ||
https://mail.ncf.ca/dav/al178@ncf.ca/Calendar | <tt>https://mail.ncf.ca/dav/al178@ncf.ca/Calendar</tt> | ||
# Check <tt>Cache</tt> - so your calendar contents will be accessible even if you're offline | |||
# Click <tt>Next</tt> | |||
http://www.ncf.ca/ncf/support/zimbra/zimbra_cal2.jpg | http://www.ncf.ca/ncf/support/zimbra/zimbra_cal2.jpg | ||
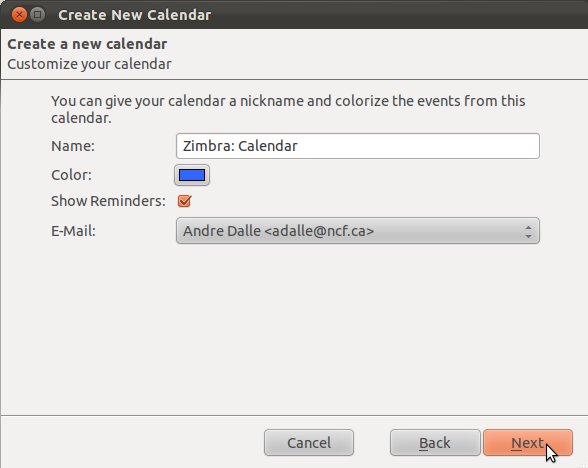
# Give it a name, eg. <tt>Zimbra: Calendar</tt>, and choose a color - I like blue! | |||
# IFF you have more than one email account setup, you'll also want to tell it which one to associate with that calendar | |||
http://www.ncf.ca/ncf/support/zimbra/zimbra_cal3.jpg | http://www.ncf.ca/ncf/support/zimbra/zimbra_cal3.jpg | ||
http://www.ncf.ca/ncf/support/zimbra/zimbra_cal4.jpg | http://www.ncf.ca/ncf/support/zimbra/zimbra_cal4.jpg | ||
[[Category: Email]] | [[Category: Email]] | ||
Revision as of 23:37, 28 February 2012
Zimbra calendar and contacts follow the CalDAV and ContactDAV standards.
For Thunderbird, you need to install the "Lightning" calendar addon. Go to Tools -> Addons, and search for "Lightning".
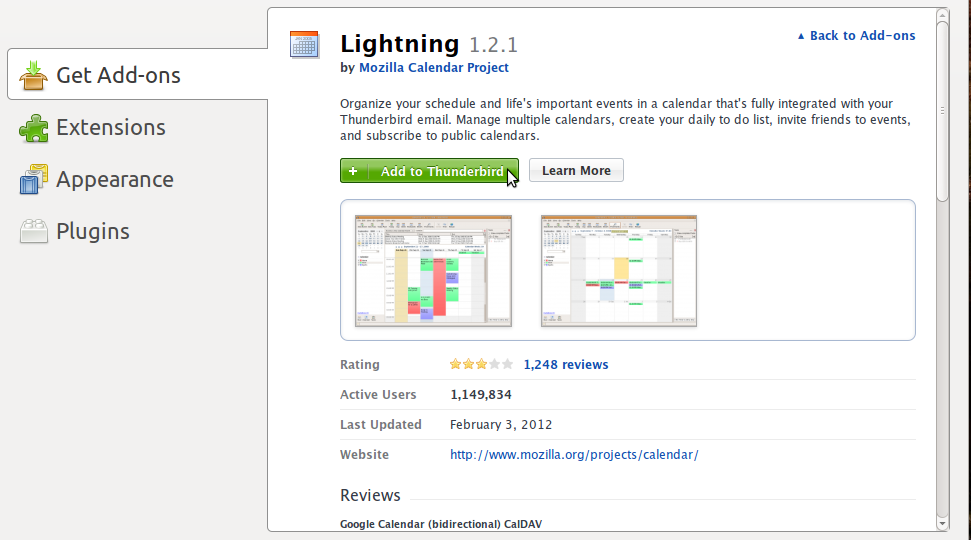
Once you have the Calendar component installed, the steps to add your Zimbra calendar are as follows:
- Click on File -> New -> Calendar
- Select On the Network
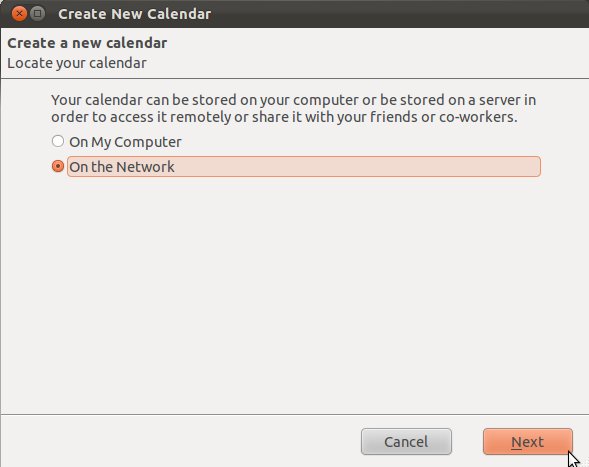
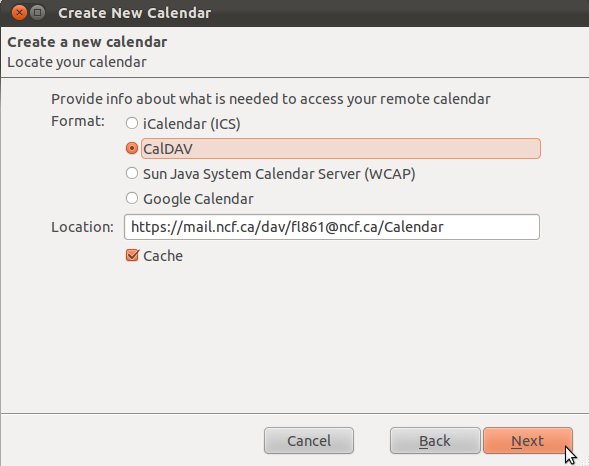
- Select CalDAV
- Enter the following into the Location: https://mail.ncf.ca/dav/ACCOUNT_ID@ncf.ca/CALENDAR_NAME
Enter your NCF accountID where it says ACCOUNT_ID, and the Zimbra calendar you wish to add where it says CALENDAR_NAME.
eg., in my case, to add the default Zimbra calendar, which is named simply "Calendar", I would enter:
https://mail.ncf.ca/dav/al178@ncf.ca/Calendar
- Check Cache - so your calendar contents will be accessible even if you're offline
- Click Next
- Give it a name, eg. Zimbra: Calendar, and choose a color - I like blue!
- IFF you have more than one email account setup, you'll also want to tell it which one to associate with that calendar
