Zimbra: Thunderbird Contacts
Zimbra is NCF's webmail system.
Zimbra calendar and contacts follow the CalDAV and CardDAV standards. This article outlines how to set up Zimbra contacts in the Mozilla Thunderbird email client.
For calendar see Zimbra: Thunderbird Calendar.
Thunderbird 24 and later
For Thunderbird 24 and newer versions use the CardBook add-on for Thunderbird:
1. Install the CardBook add-on for Thunderbird
2. CardBook offers to import your existing Thunderbird Address Book
3. After installation the CardBook launch icon is added to the Thunderbird Toolbar
4. Open the CardBook add-on by clicking the icon
5. Right click on the Address Books header
6. On the context menu select "Add address book"
7. From the new window that opens select "Remote"
8. Set the "Type" as “CardDAV”, the URL as "https://mail.ncf.ca/dav/xxnnn@ncf.ca/Contacts" and enter your Username and Password. Remember to change the 2 highlighted areas in the image below to your NCF ID
9. Once set, CardBook synchronizes with the NCF Zimbra email server
10. Synchronization settings can be customized on the “Sync” tab of the CardBook preferences
- Thanks to NCF member Al Richman for the CardBook instructions and illustrations.
Thunderbird 23 and earlier
For Thunderbird 23 and earlier, you need to install the "Zindus" contacts addon. Go to Tools -> Addons, and search for "Zindus".
Later versions of Thunderbird do not support Zindus, due to Zindus development being discontinued.
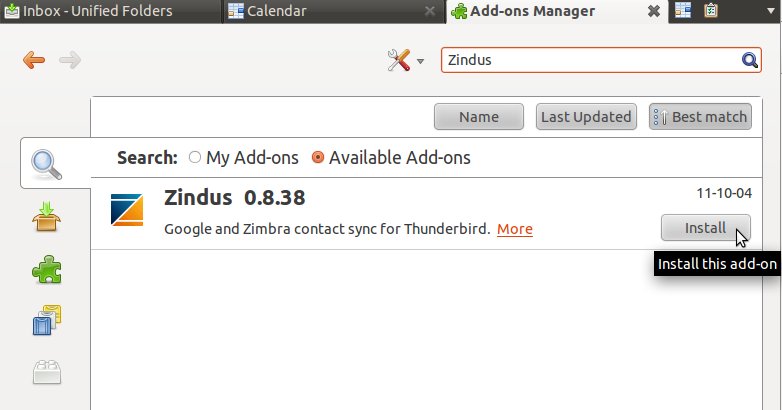
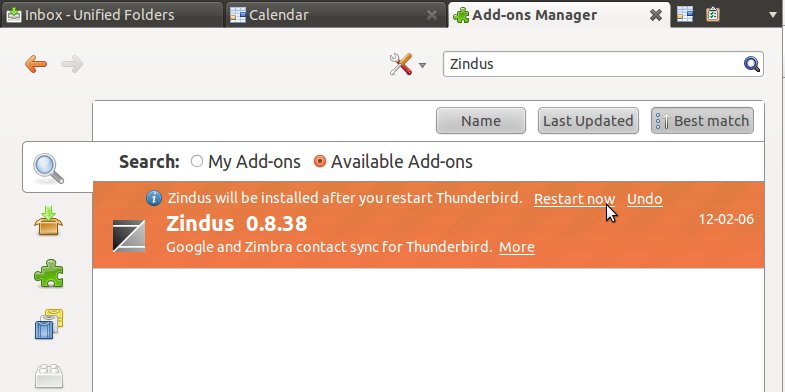
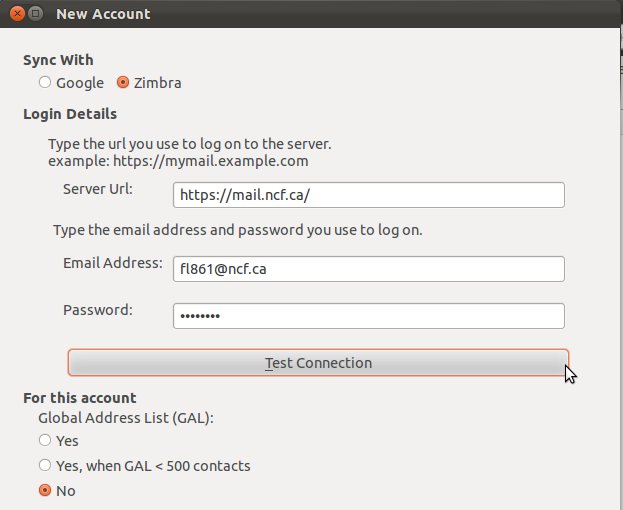
Once you have the Zindus component installed, the steps to sync your Zimbra contacts are as follows:
- Tools -> Zindus
- click on Add
- select Zimbra
- Server Url: https://mail.ncf.ca/
- Enter your email address and password, should be in the format ab123@ncf.ca and your password
- Select No for the Global Address List/GAL
- Click on Test Connection
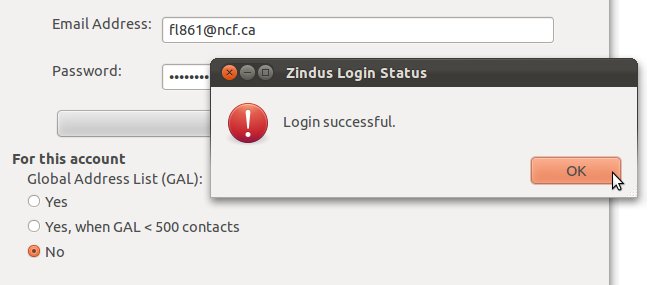
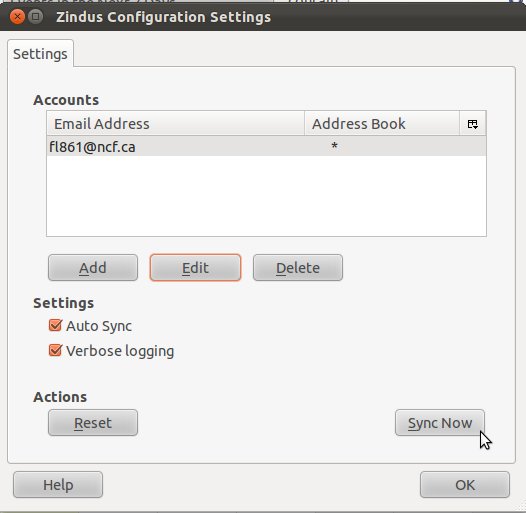
If it worked, you should be set. Click 'Sync now' if you like, and then 'OK'.


