WiFi Analyzer for Windows
1. Download, Install and Run Acrylic WiFi Home.
2. From the Menu [≡] at the top right corner of the window and turn on the [Advanced Mode]
3. Look for your network in the [SSID] list and select it by clicking on it.
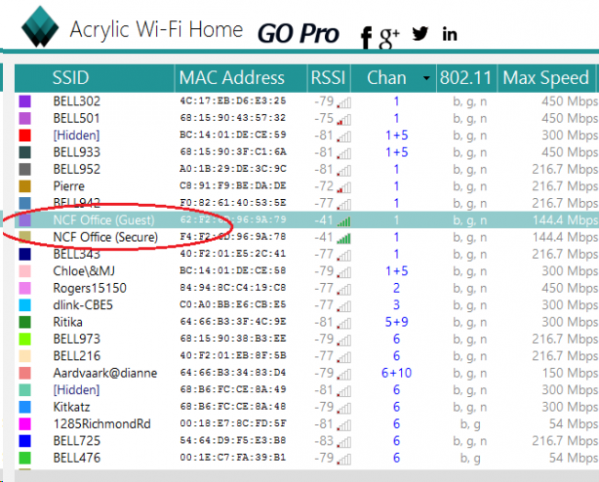
4. Click the [Chan] List to sort the WiFi networks by Channel Click on the [2.4Ghz APs Channels] Tab at the bottom
5. Leave the program to run for about 15 minutes and take a screenshot of the report. Save it as a word file (Open Word and hit [Ctrl+V]) and include in a reply to the most recent ticket email you received from [[1]] .
The channels with the most wifi networks represent the frequency bands with the most interference from other networks.
6. If you live in a WiFi-dense Setting (have more than 15 wireless networks on your list), sort the list by RSSI value instead of channels. Click the [RSSI] List to sort the Wifi networks by Signal Strength from the lowest digit trending higher (For example, going from -30 to -80). You may have to click on [RSSI] twice to get the right order. We focus on the signals closest to you to find a channel that's least busy channel.
7. Leave the program to run for about 15 minutes again and another take a screenshot of the report. Add it to your word file (Open Word and hit [Ctrl+V]) and include in a reply to the most recent ticket email we sent to you or email to [[2]] with your ticket number in the subject.
Note:
· If your house is bigger than a two bedroom apartment, it is recommended that you generate this report from different locations in your house. Include a brief description with each screenshot in that case.


