WiFi Analyzer for MacOS
WiFi Analyzers: Windows | Windows 10 | Android | iOS | MacOS | Linux
How to Install and Check for WiFi Interference at Your Premises and Produce a Report for NCF
1. Download the AirPort Utility from the Appstore.
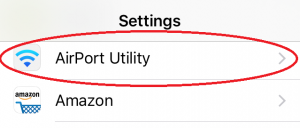
2. Go to iOS Settings and find scroll down until you find the AirPort Utility.
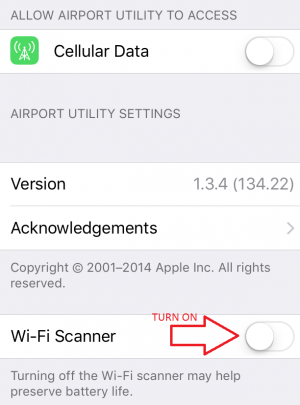
3. Turn WiFi Scanner on.
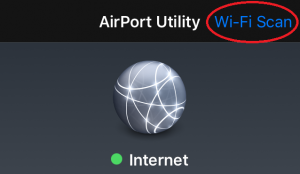
4. Open AirPort Utility and tap Wi-Fi Scan.
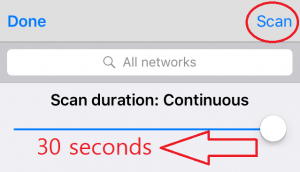
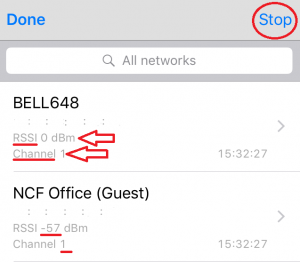
5. Tap Scan and wait 30 seconds.
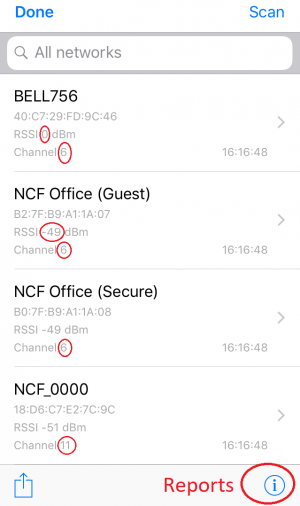
6. Now you can see all the networks with their channels and RSSI levels. Click Stop
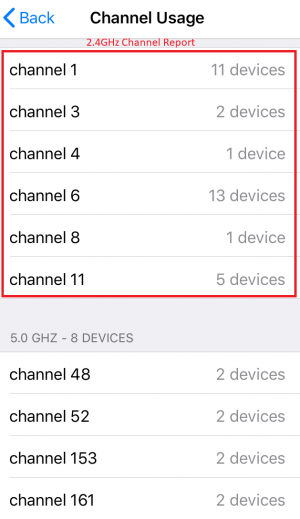
7. Click on the info icon in the bottom right corner of the results page.
8. Take a screenshot by using the key combination Power+Home and send the pictures to support@ncf.ca or in response to the most recent ticket email you have received from the NCF Help Desk.
9. The RSSI represents the signal strength of the networks around you. If you're configuring your modem yourself, you want to avoid the channels of the top 5 networks besides your own.
10. Now you can Stop scanning.
11. REMEMBER: go back into the settings and turn off the WiFi-Scanner to conserve your device's battery.

